Editing an Article After Generation
Table of Contents
When to Edit
After generation, articles are immediately ready to publish. But you can edit before sending to the CMS, or fix a published article and push updates via Republish.
Opening the Editor
Go to Sites → [Your site] → Articles and click on an article. The editor opens with several tabs.
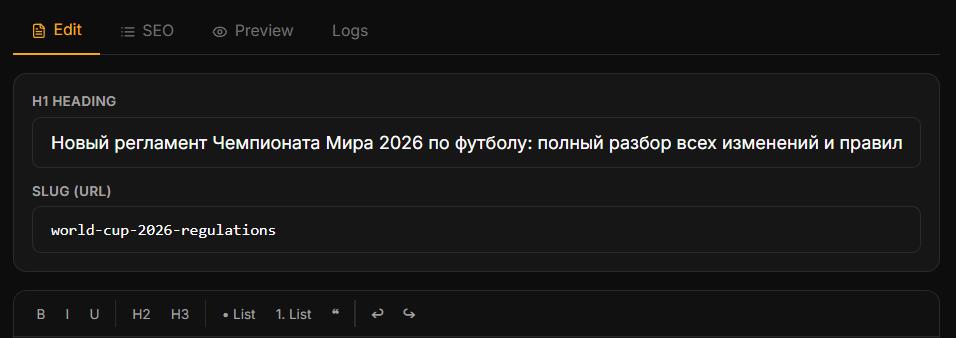
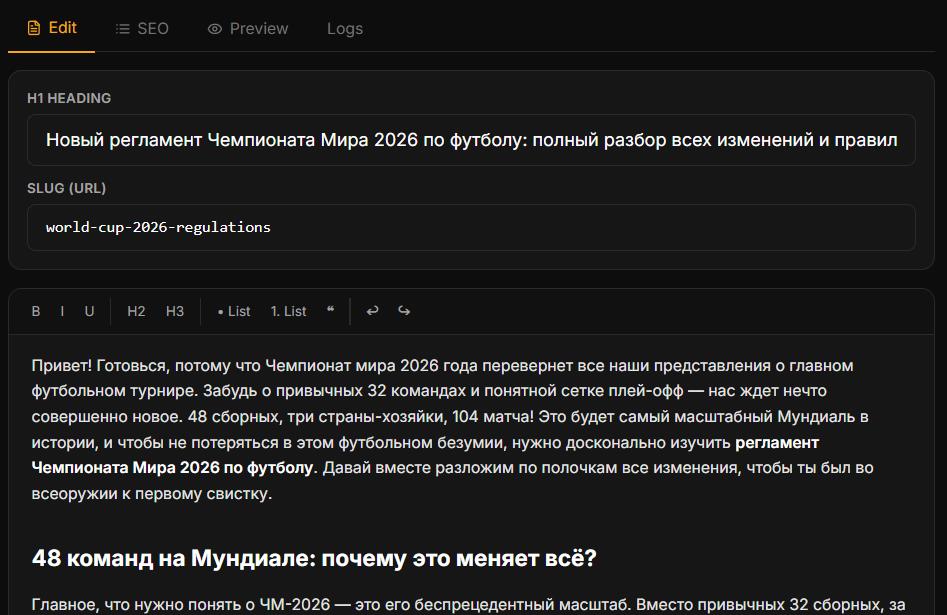
Edit Tab
H1 heading — the main page heading (can differ from the title tag)
Slug (URL) — the page address in the CMS
Content editor — built-in HTML editor for text editing, image insertion, formatting
Changes save automatically as you type. To send to CMS, click Publish or Save as draft.
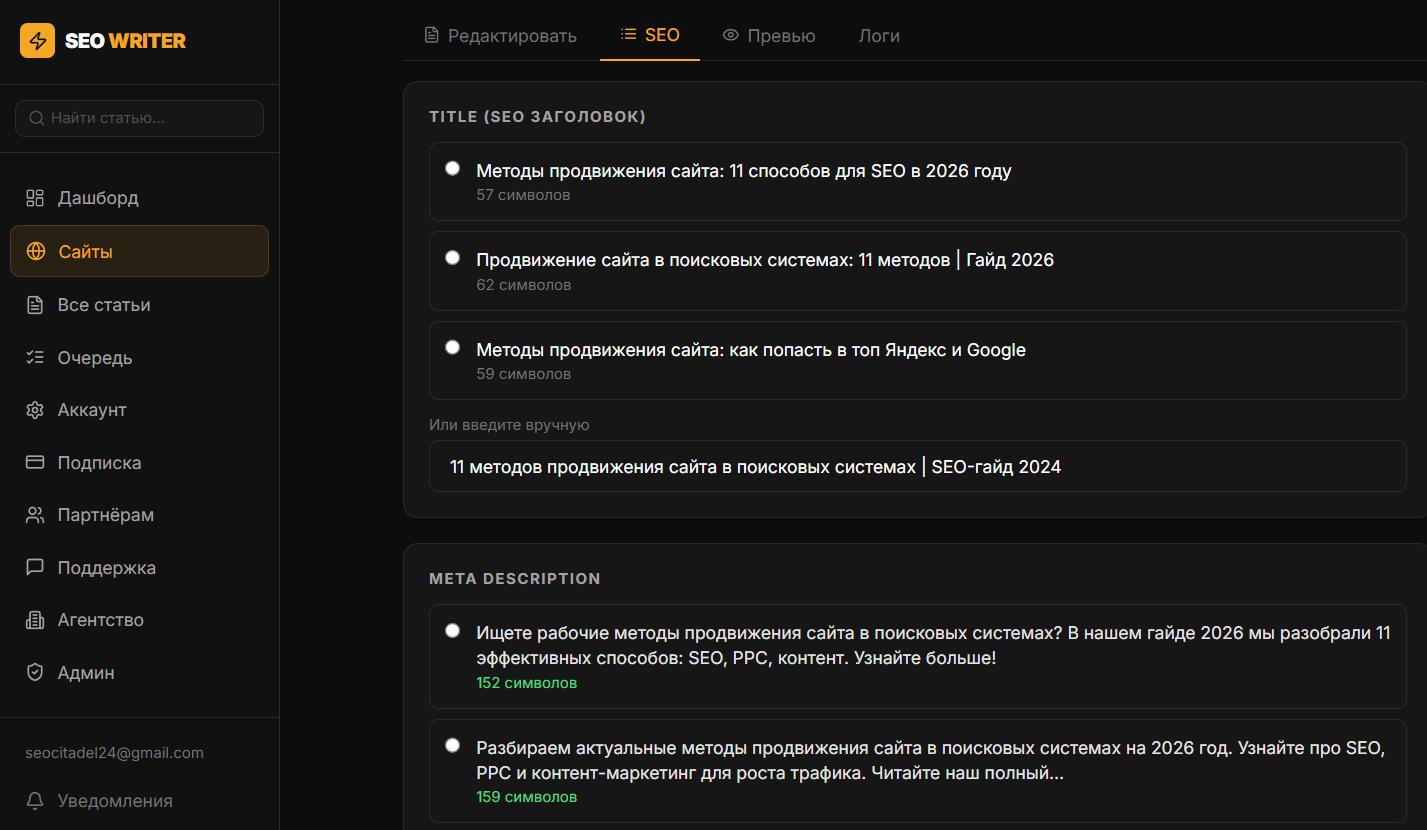
SEO Tab
Title variants — 3 AI-generated title tag options. Select the best or write your own.
Meta description variants — 3 options. A character counter helps stay under 155 characters.
Preview Tab
Shows the finished HTML article as it will appear in a browser. Useful for a final check before publishing.
Download or Copy
To use the article outside a CMS, use the Copy HTML or Copy Markdown buttons in the editor.
Cover Image
Below the editor you'll see a preview of the AI-generated cover (if one was created). If the cover didn't appear or you want to update it, click Regenerate cover. The new cover is created asynchronously and attached to the published CMS post within 1–3 minutes.

Logs Tab
Shows all generation steps with duration and token counts. Useful for diagnosing errors.
In this section
Was this article helpful?